Create your first window & door render
This is the core of Unformed: turn a photo of a property into a photoreal render of the new windows and doors, ready to show your client. The whole thing takes a couple of minutes.
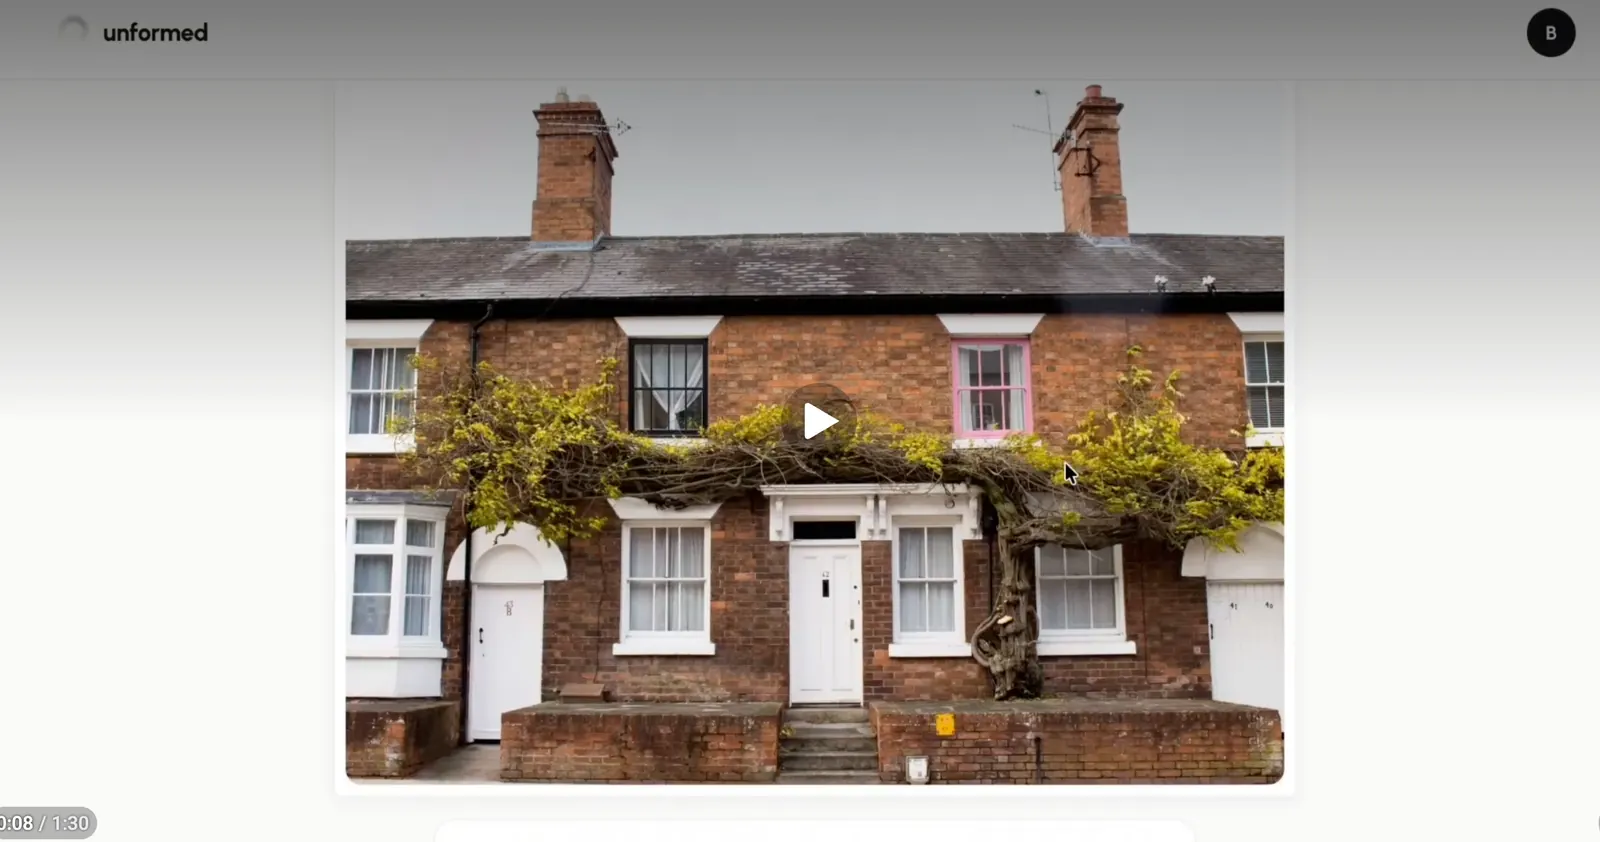
Watch the walkthrough — or follow the written steps below.
Start a new project
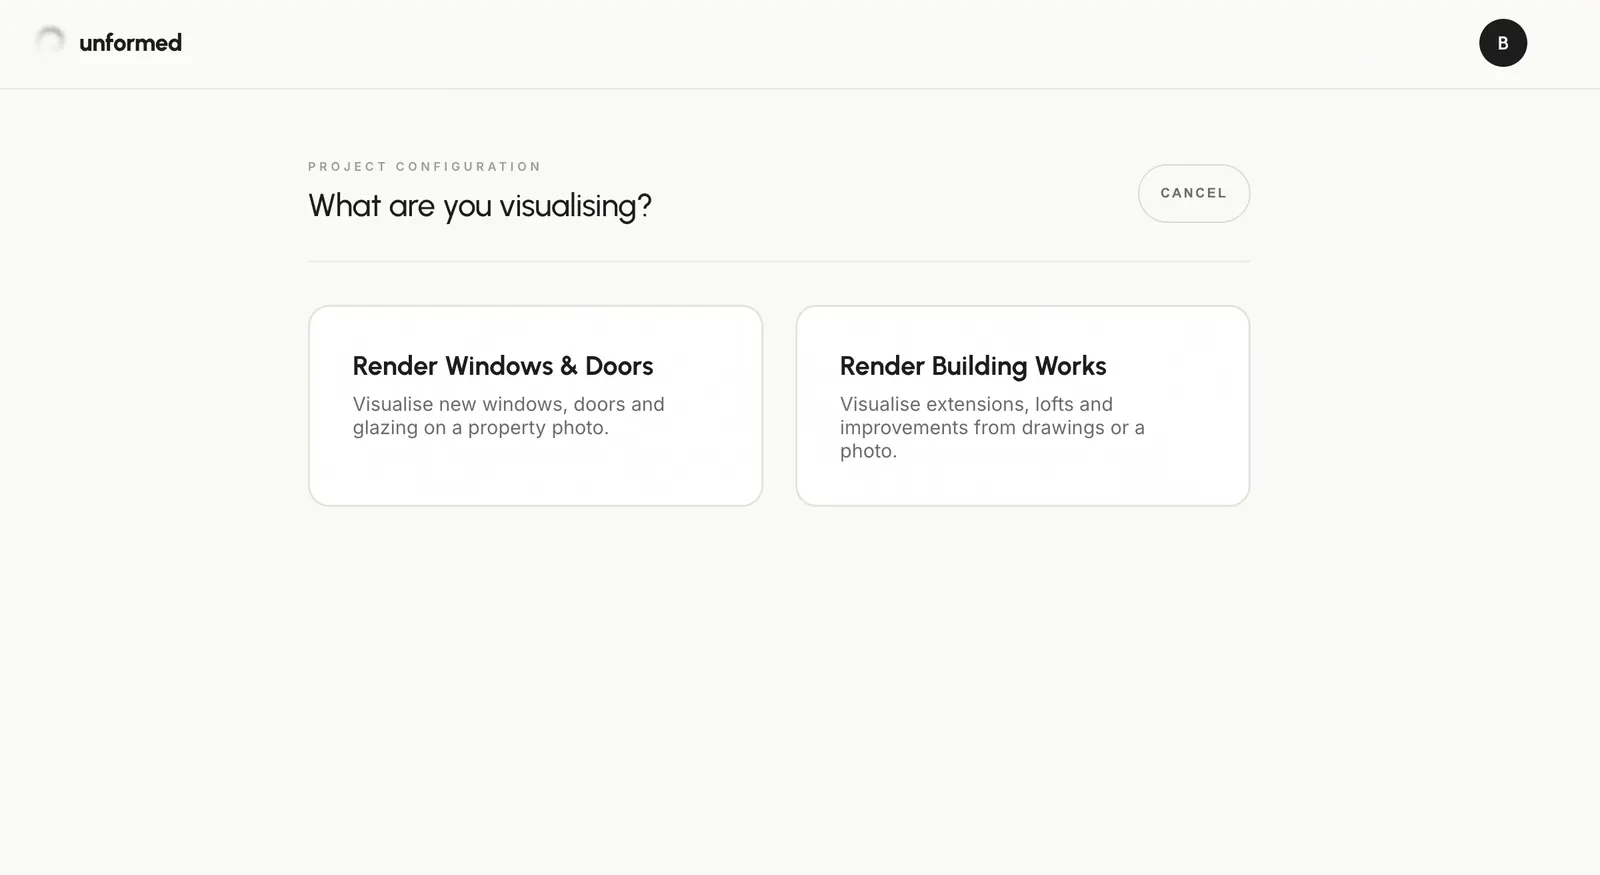
From your Projects vault, click “New Project” and choose “Windows & doors”.
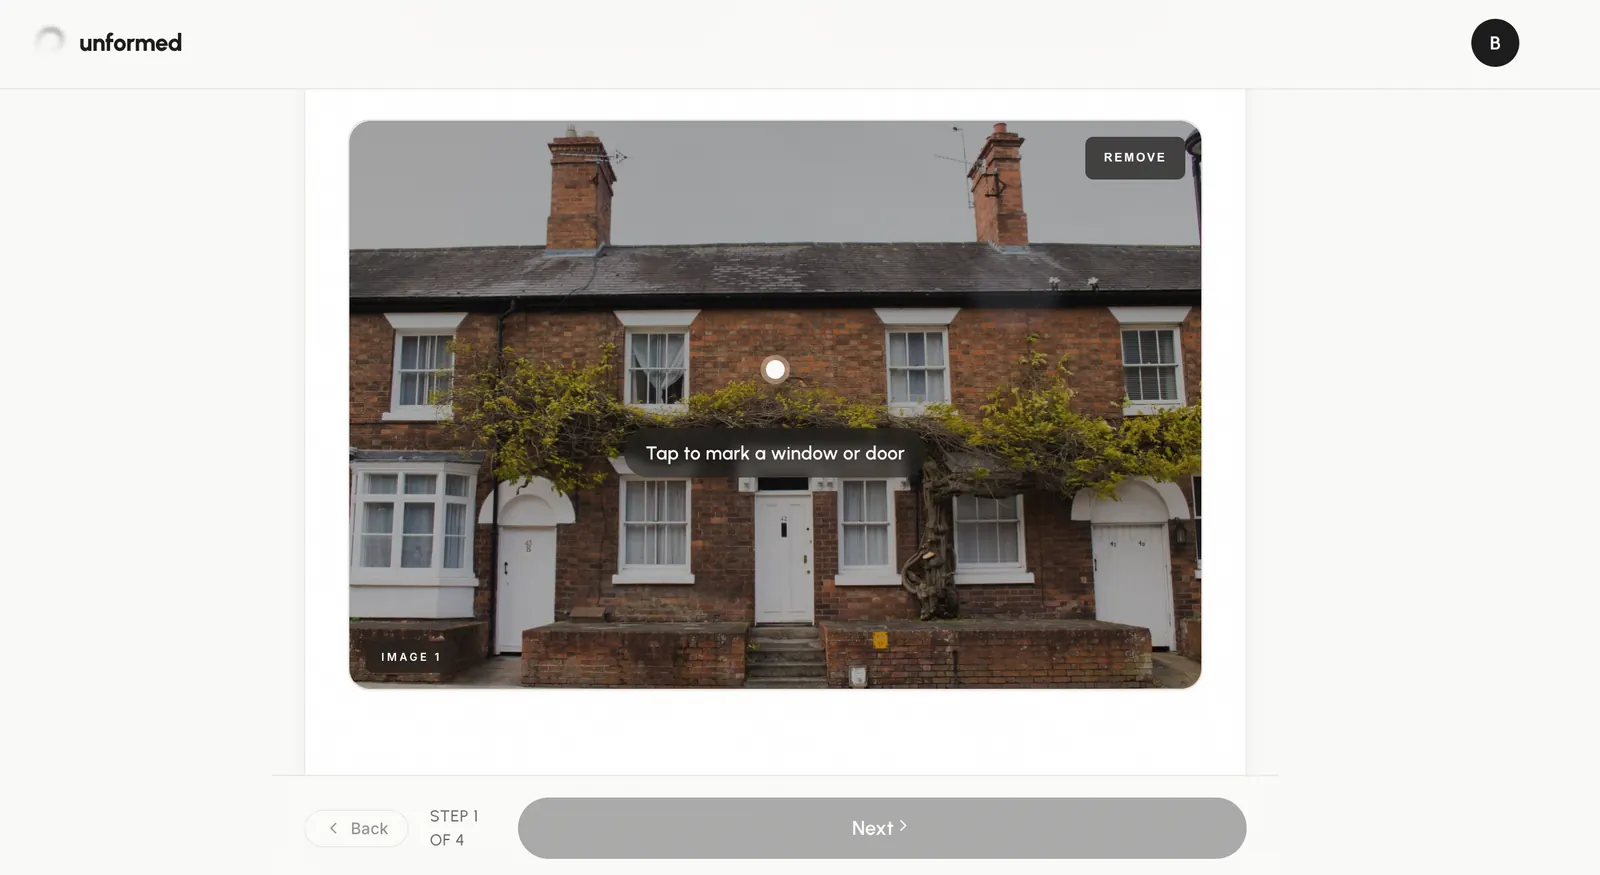
Upload a photo of the property
Add a clear, front-facing photo of the house (or use “Open Camera” on your phone). Good daylight and a straight-on angle give the most accurate results.
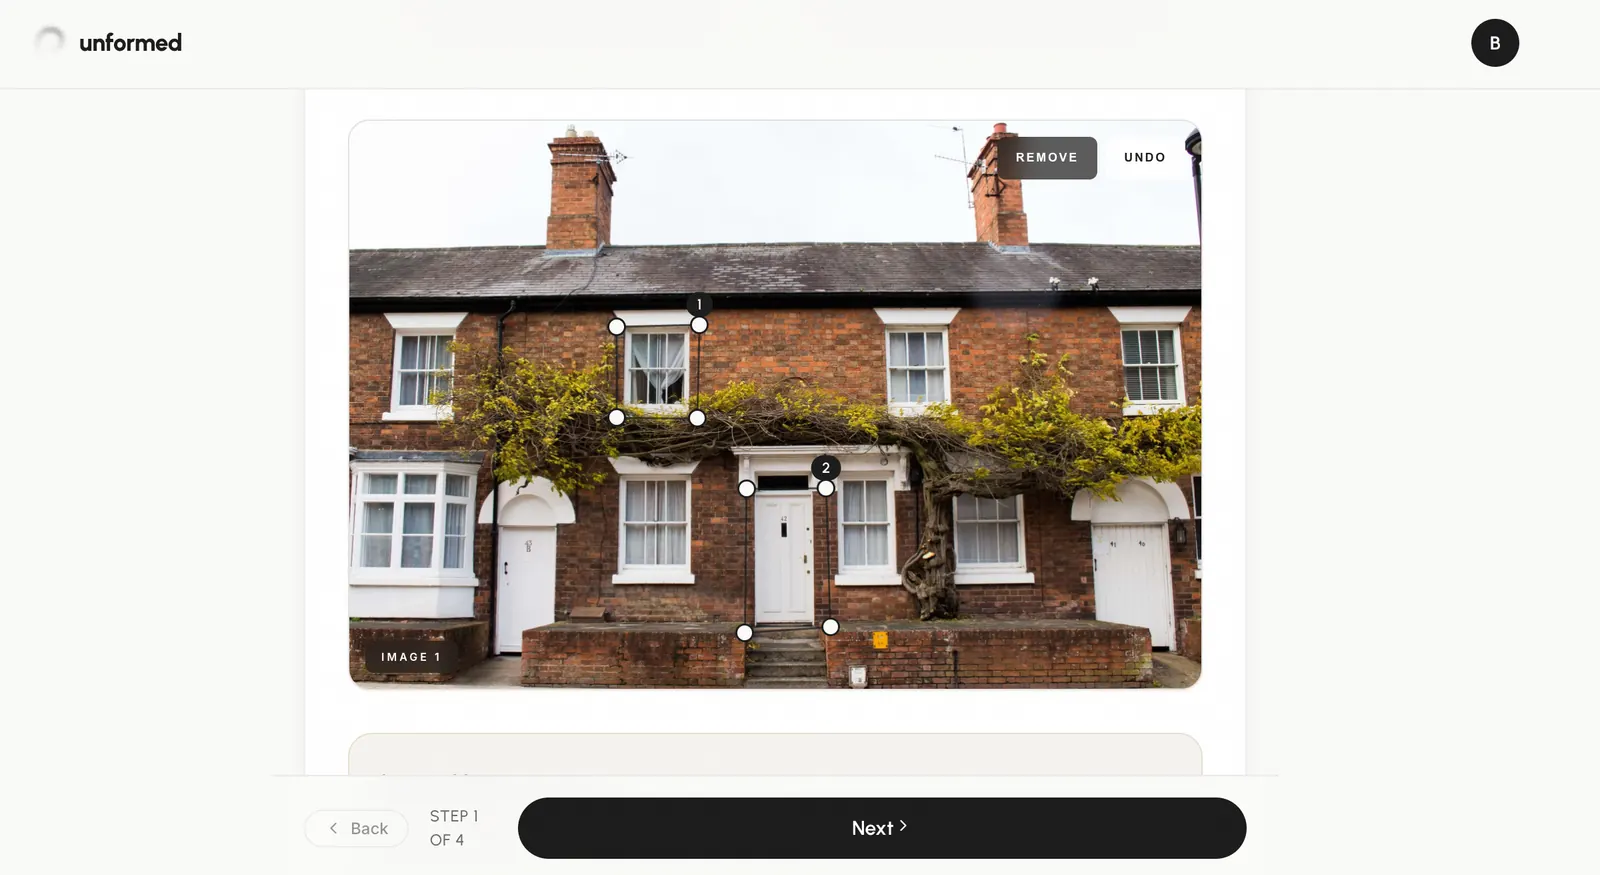
Mark the windows and doors
Tap each window or door you want to replace to drop a numbered pin. Only the openings you mark are changed — everything else in the photo stays exactly as it is.
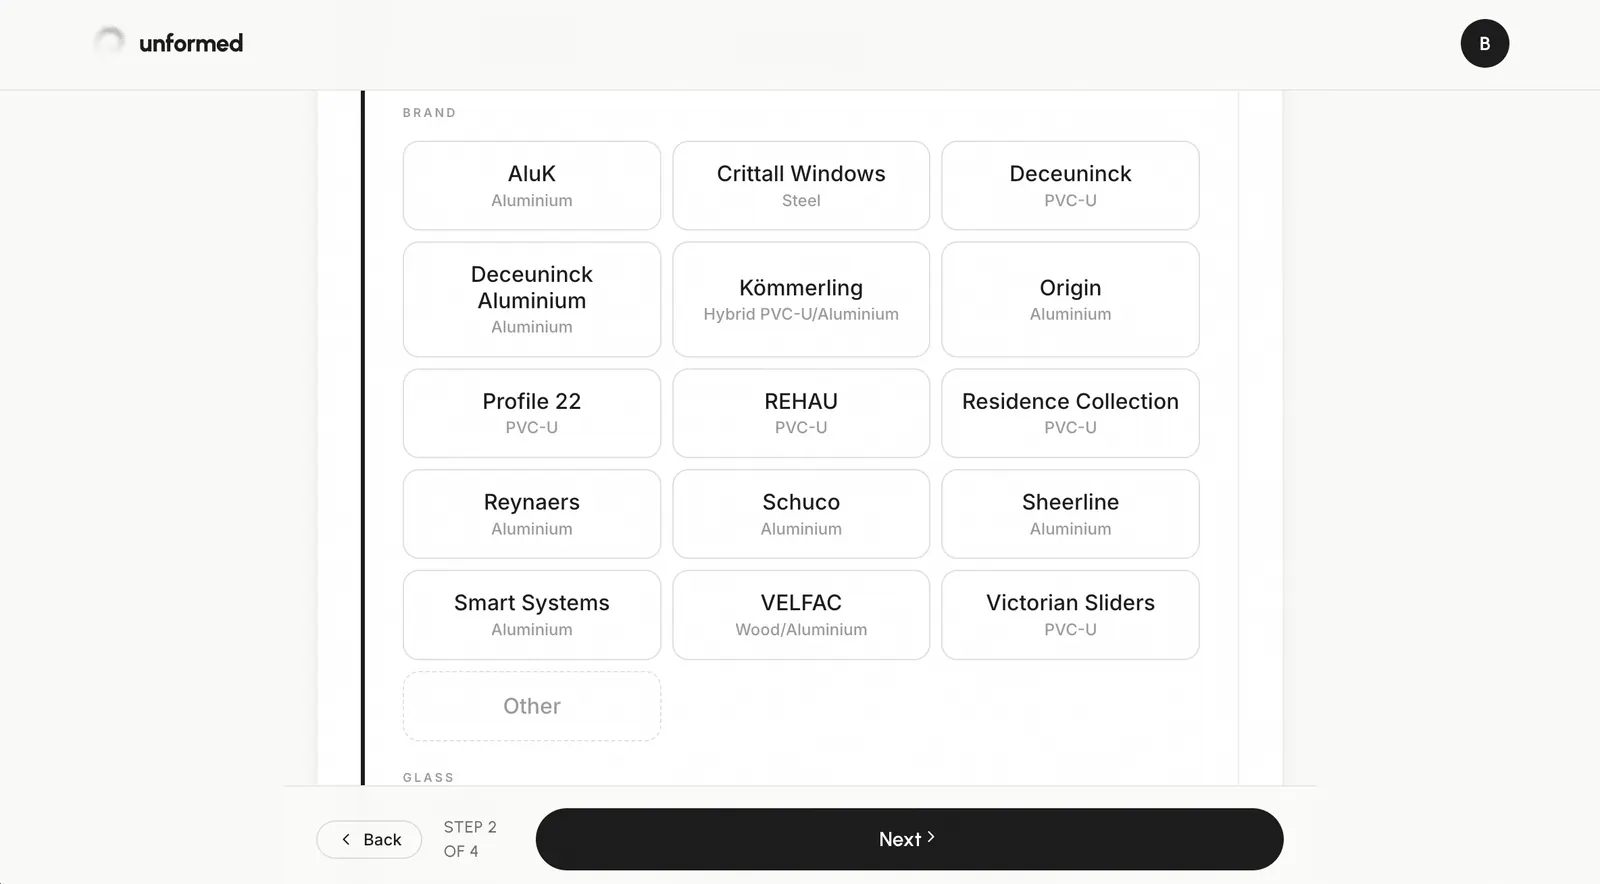
Choose products and colour
For each pin, pick the brand, product and frame colour, and set the number of sections. Colours apply to the frame only — the glass stays clear. This is where accuracy pays off, so match the real product you’re quoting.
(Optional) Add customer options
Want to show a few choices? Add up to a couple of options per project — e.g. anthracite vs white frames — and each renders separately so your client can compare.
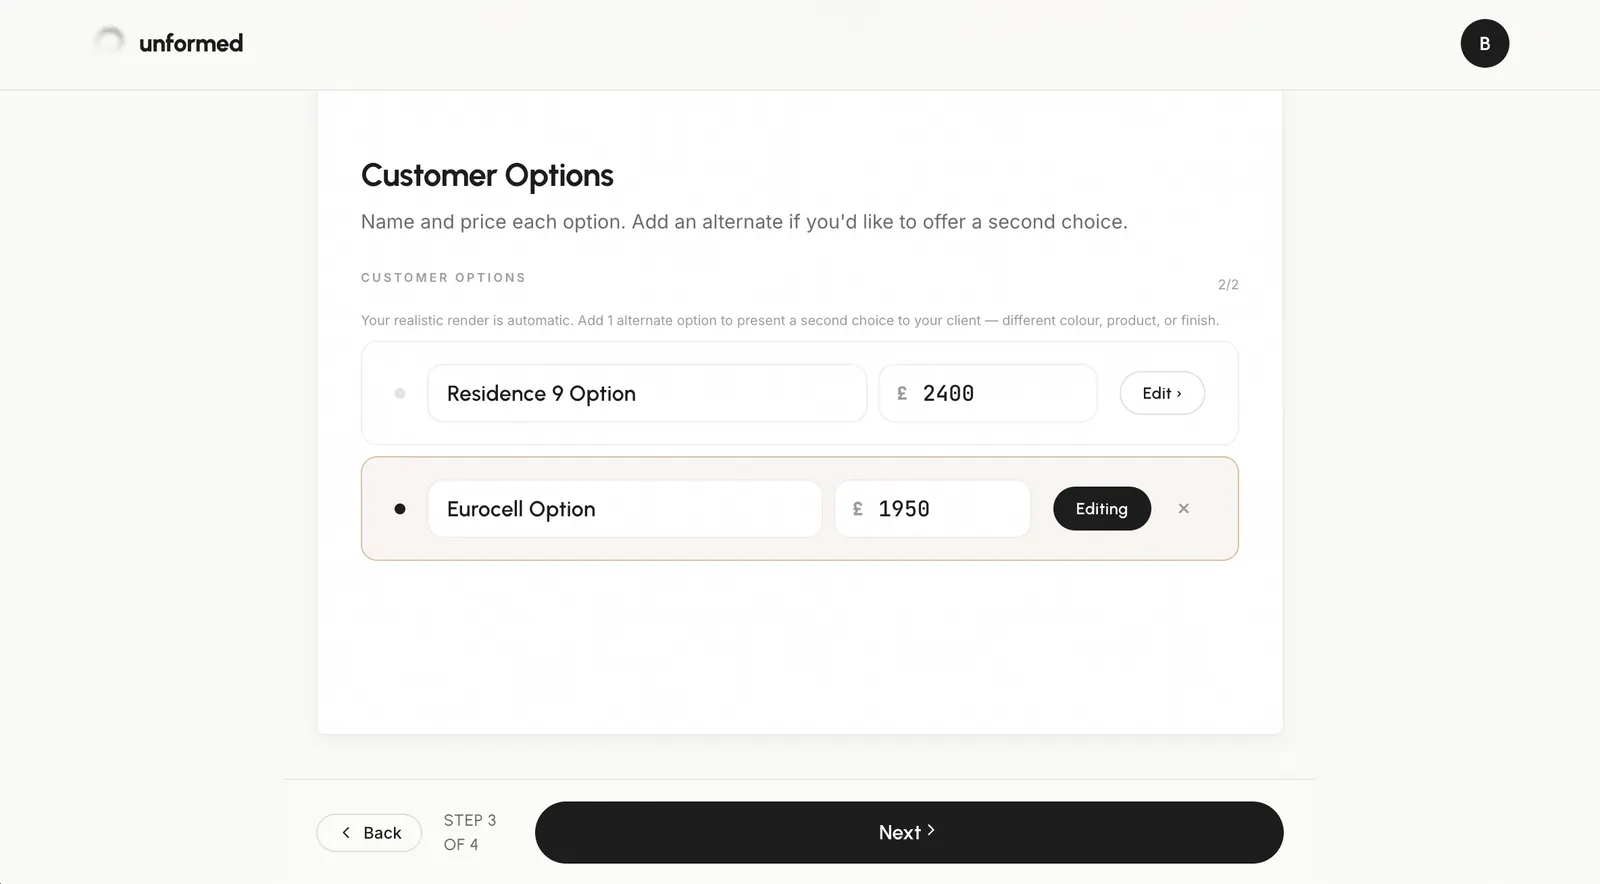
Generate
Add any project details, then click Generate. Each render takes roughly 30–60 seconds. You’ll get a realistic photo render plus a coloured-sketch version.
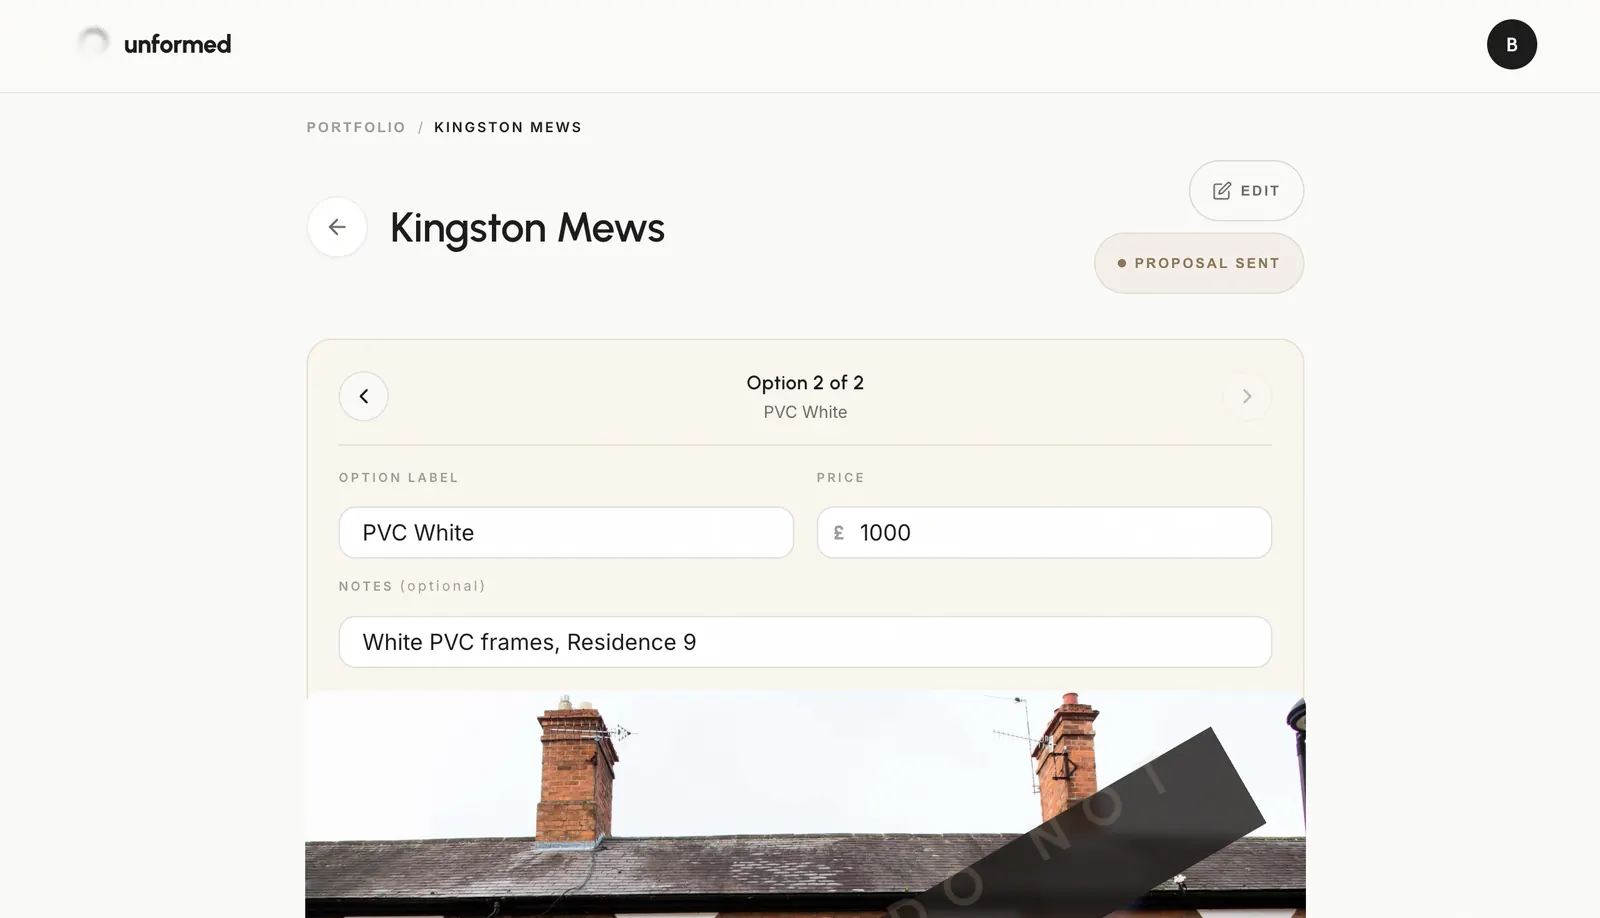
Review in your vault
Your finished renders appear on the project. Drag the before/after slider to compare against the original photo. From here you can send a branded proposal (see the next guide).
Tips
- One pin per opening gives the cleanest result — avoid pinning a whole bay as one.
- If a colour looks muted, it’s usually a very unusual frame colour; standard colours (anthracite, black, white, greys) are most reliable.
- No photo? You can also render from an architect’s or structural drawing.