Marking windows & doors
Marking tells Unformed exactly which openings to change — and, just as importantly, which to leave alone. Accurate marks give accurate renders.
Watch the walkthrough — or follow the written steps below.
Open the marking step
After uploading your photo, you land on the marking step of a new project.
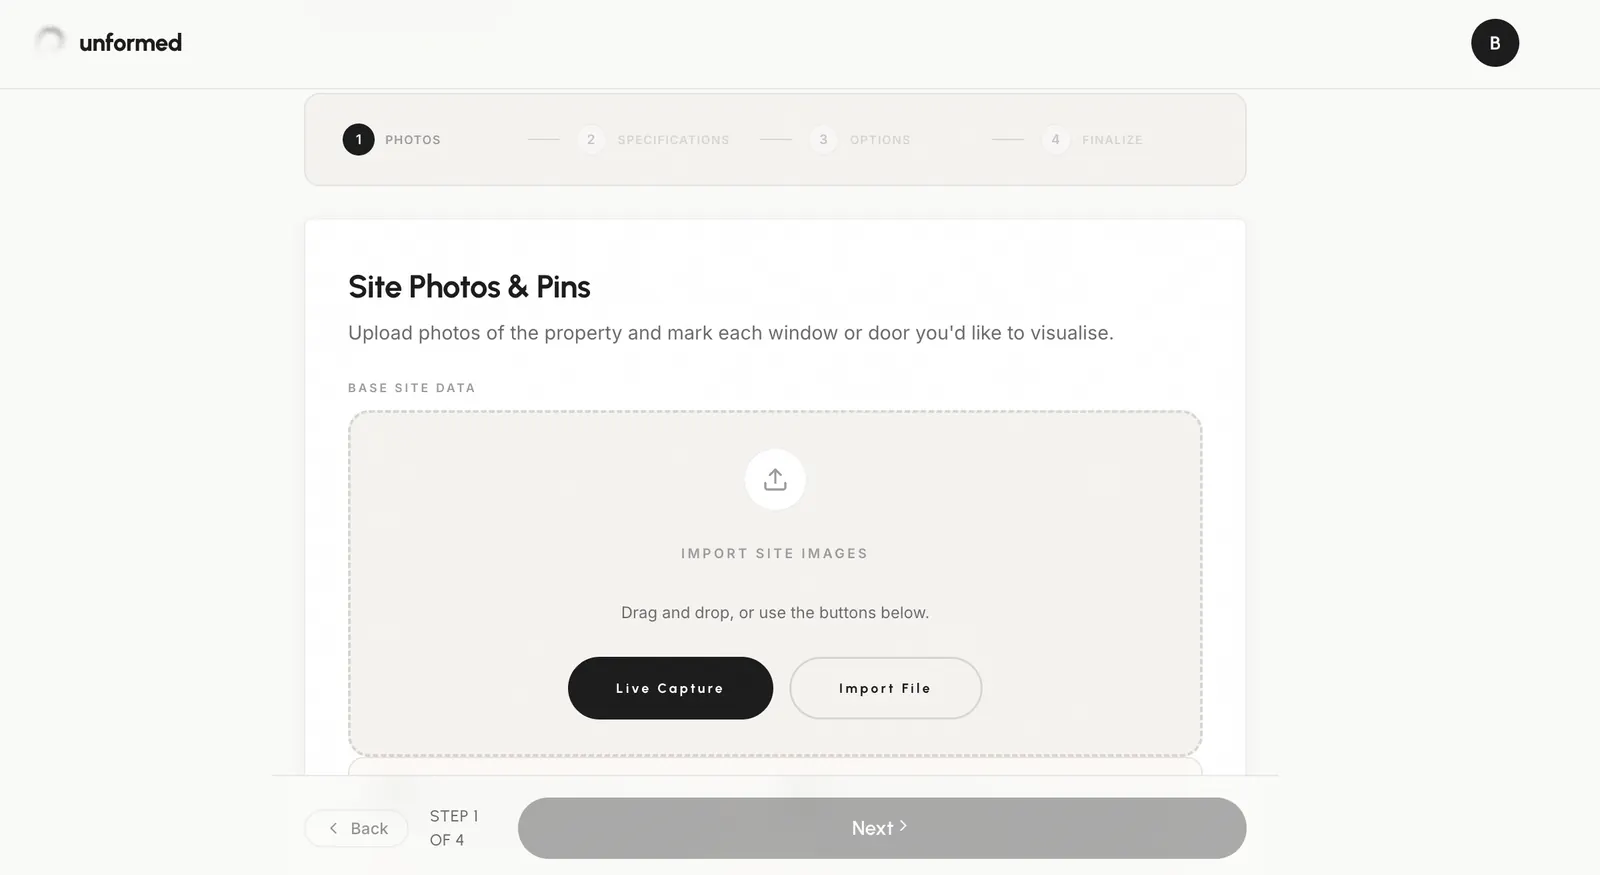
Tap each opening
Tap a window or door to drop a numbered pin. Each pin is one opening Unformed will replace.
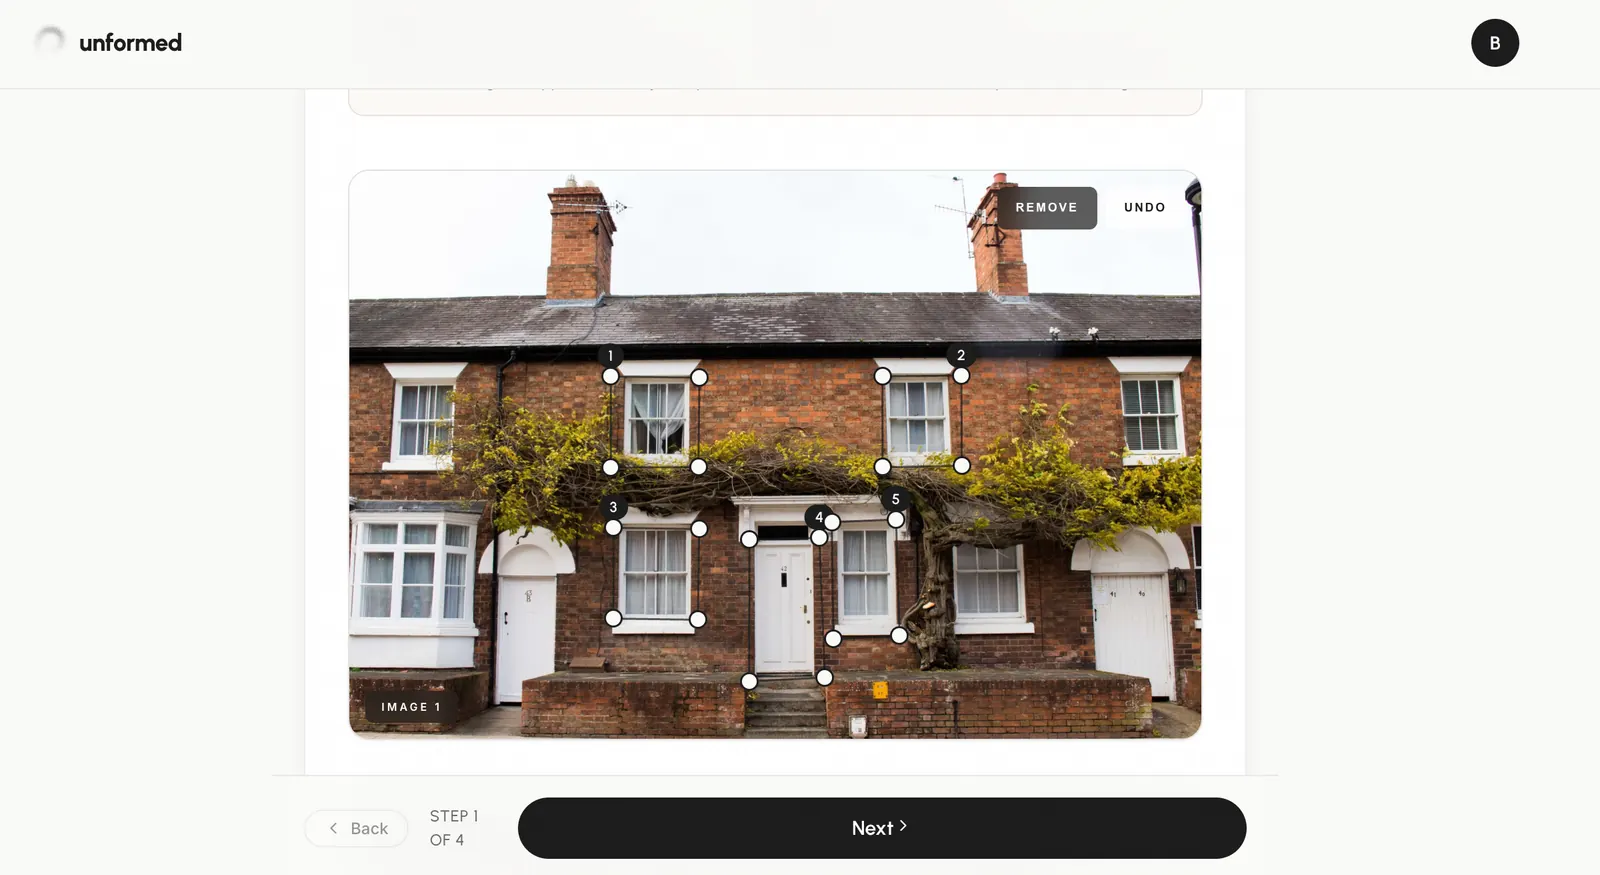
One pin per opening
Give every window and door its own pin. Don’t lasso a whole bay as one — pin each light for the cleanest result.
Adjust the corners
Drag a pin’s corners so it sits over the opening — this handles off-axis photos so the new product lines up correctly.
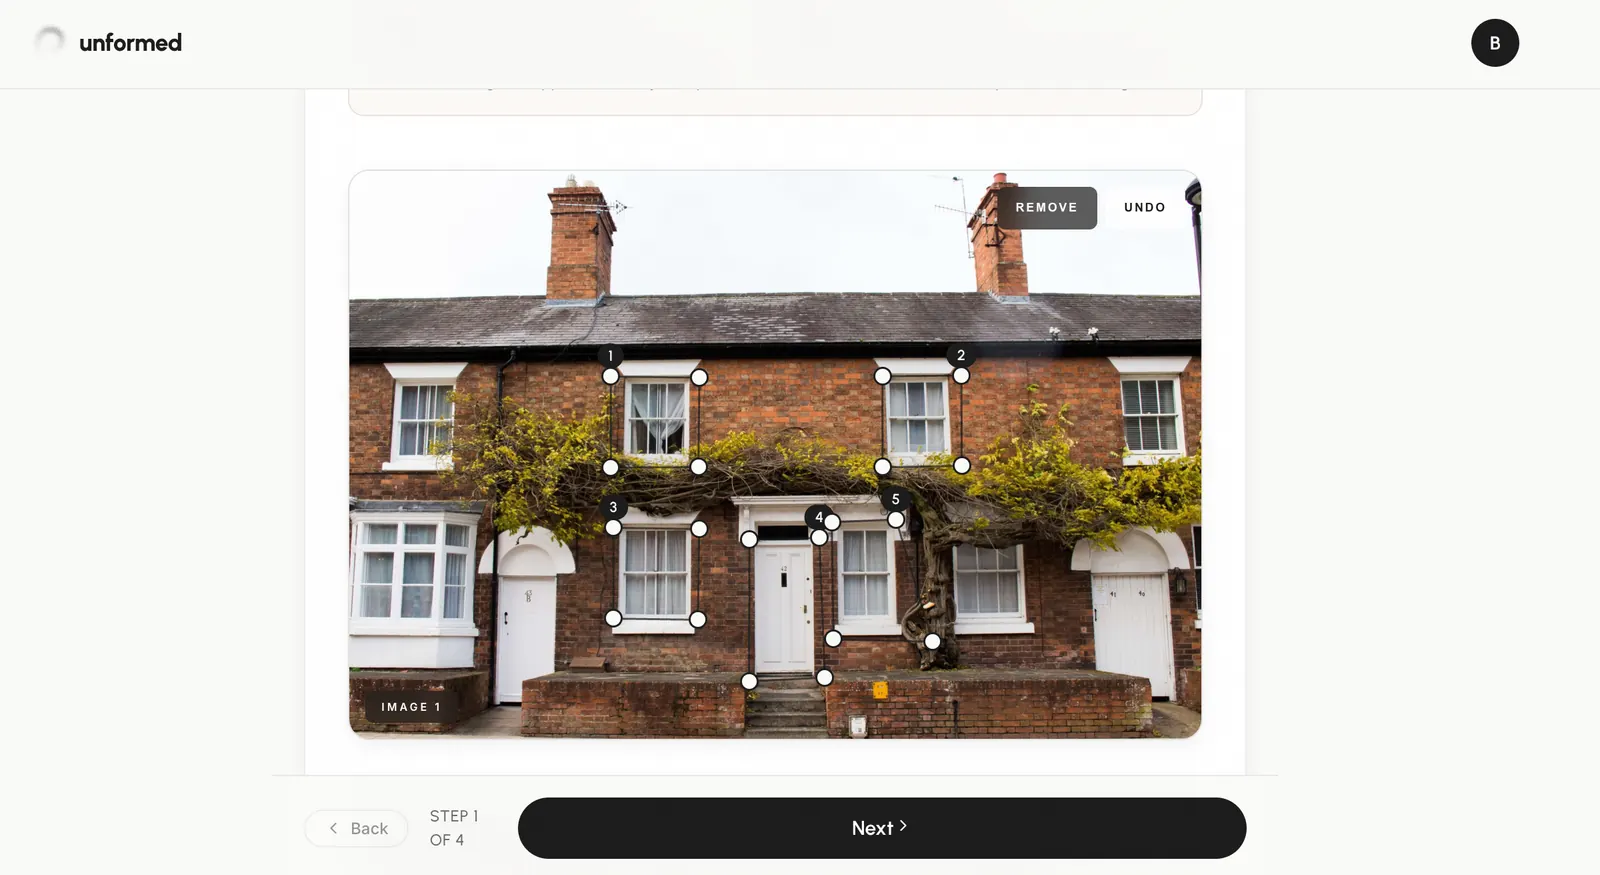
Leave the rest untouched
Anything without a pin stays pixel-identical to the original photo — brick, roof, neighbouring windows and all.
Tips
- A straight-on, well-lit photo makes marking far easier.
- You can add or remove pins right up until you generate.
← All guidesStill stuck? Email support@unformed.app.