Window rendering, end to end
The complete walkthrough: photo in, options out. This follows one real job from a blank vault through marking, specifying and rendering, to the finished options sitting in your project ready to send. If you only read one guide, make it this one.
Watch the walkthrough — or follow the written steps below.
Start from the vault
Open Projects and click “New Project”, then choose “Windows & doors”. Everything for this job — photos, renders, quote — will live in this one project from here on.
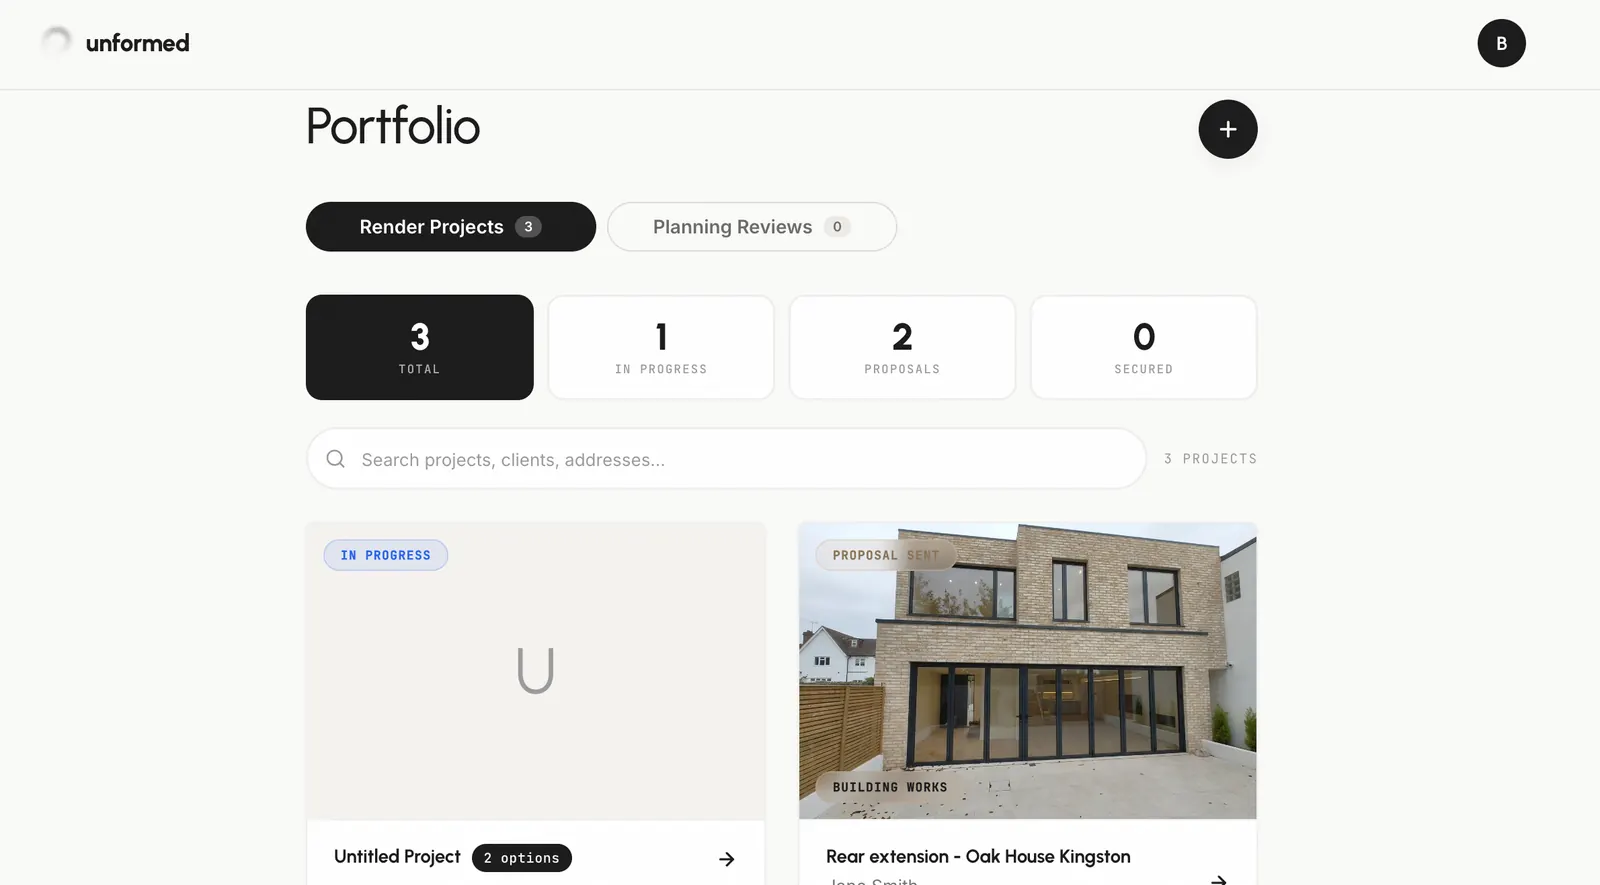
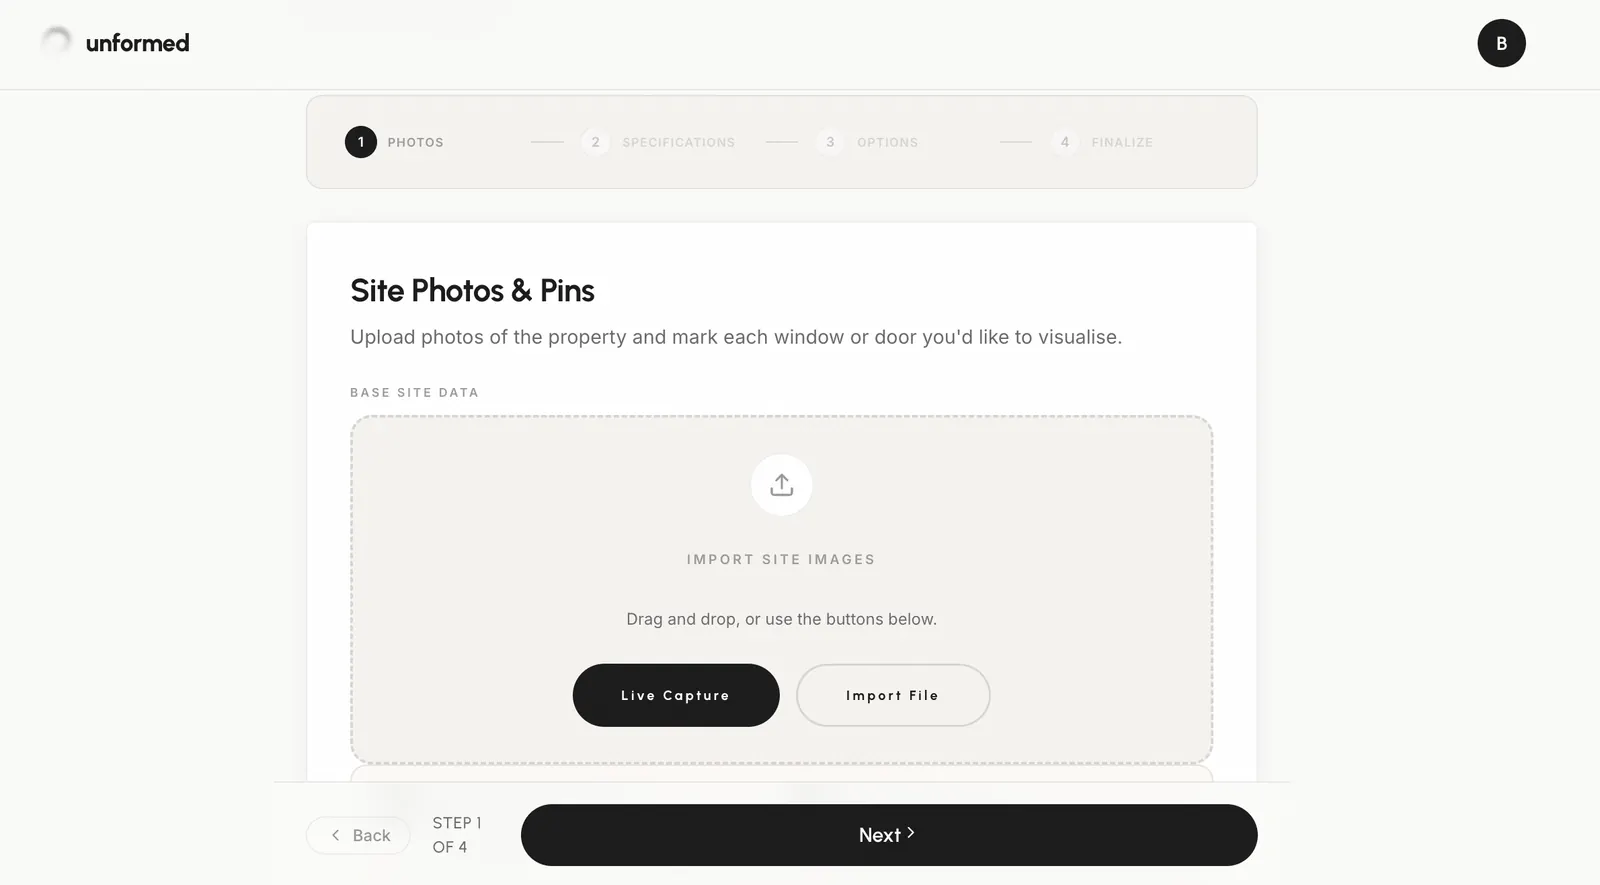
Add the property photo
Upload a photo of the property, or shoot one there and then with “Open Camera”. A straight-on shot in good daylight is worth the extra thirty seconds — it is the single biggest factor in how accurate the finished render looks.
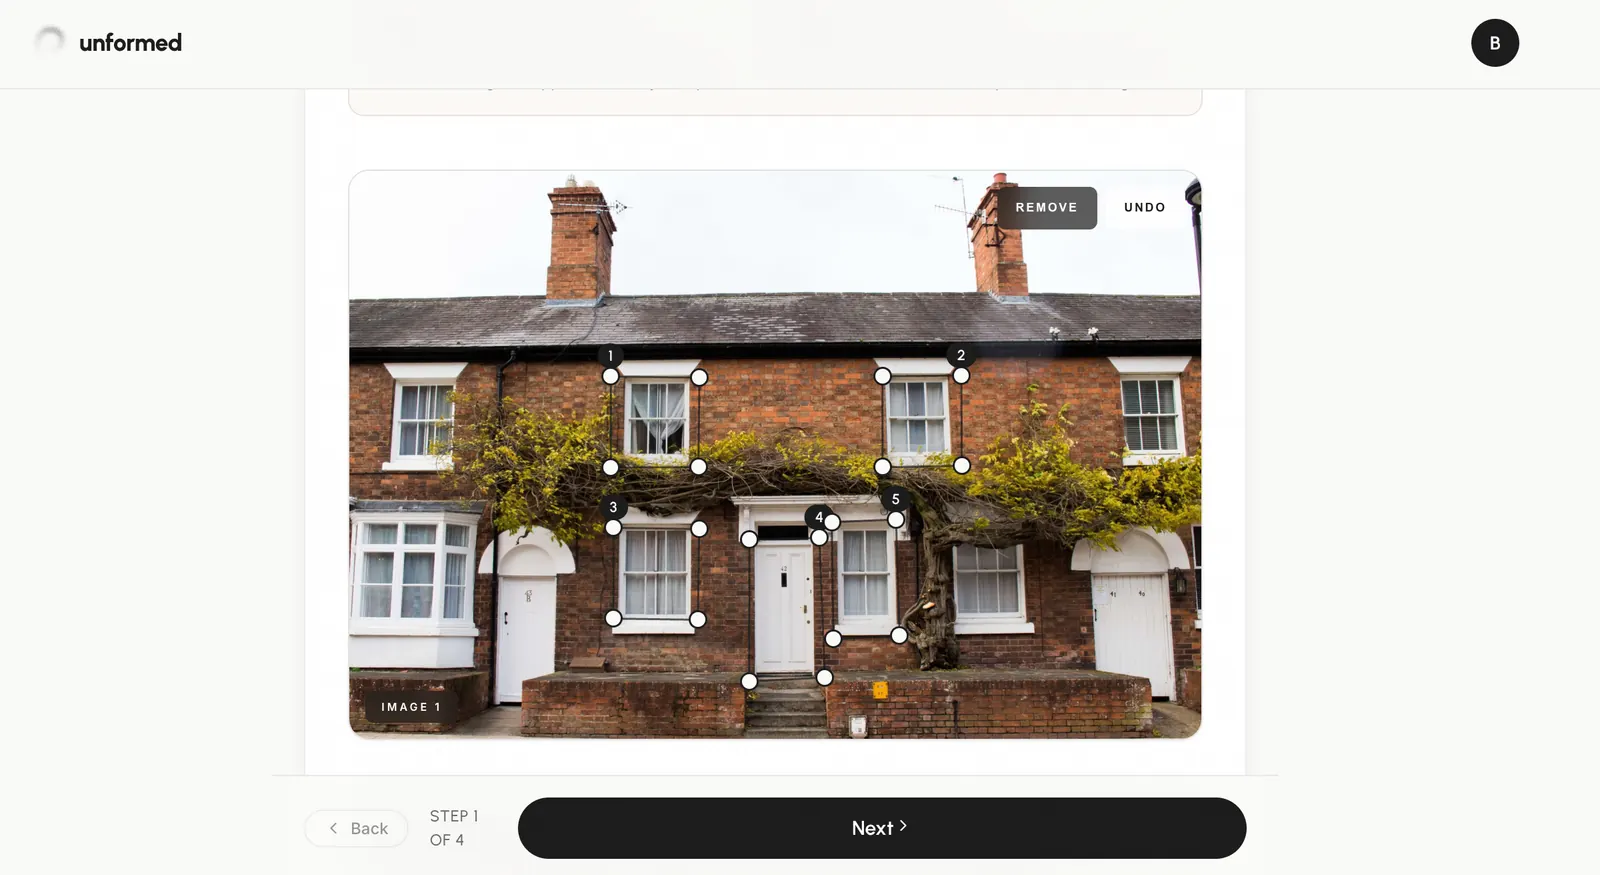
Pin every opening you are replacing
Tap each window and door to drop a numbered pin, one per opening. If the photo is at an angle, drag the pin’s corners so it sits square over the opening. Anything you do not pin stays pixel-identical to the original photo.
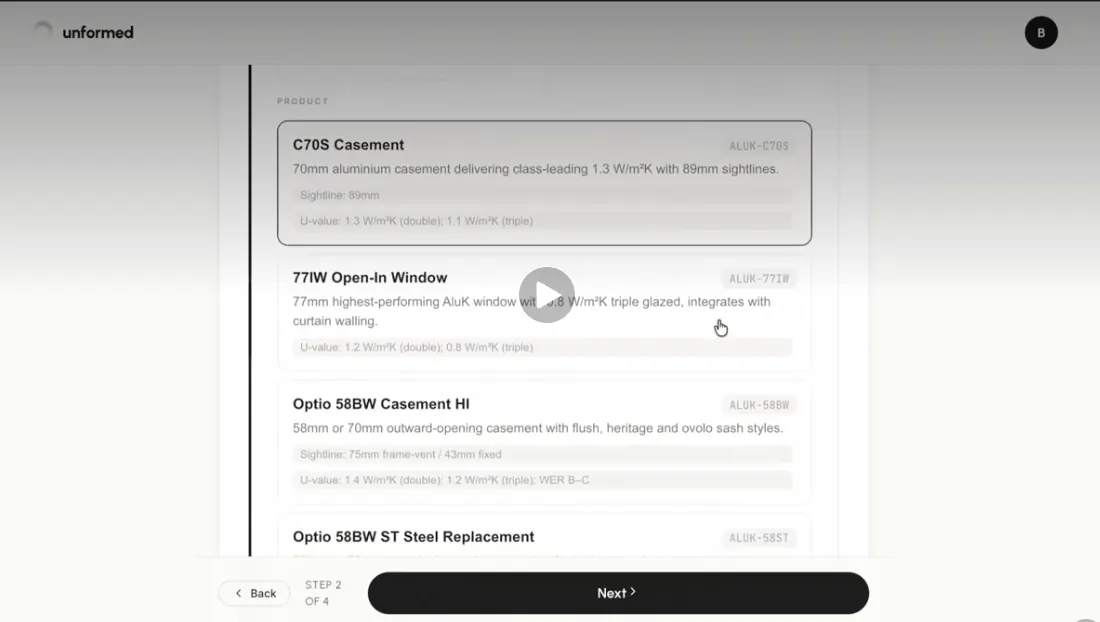
Specify each opening
Work through the pins one at a time: product type, brand, product, frame colour, and the number of sections. Colour applies to the frame — glass stays clear. Match the real SKU you are quoting and the render doubles as a spec check.
Add your customer options
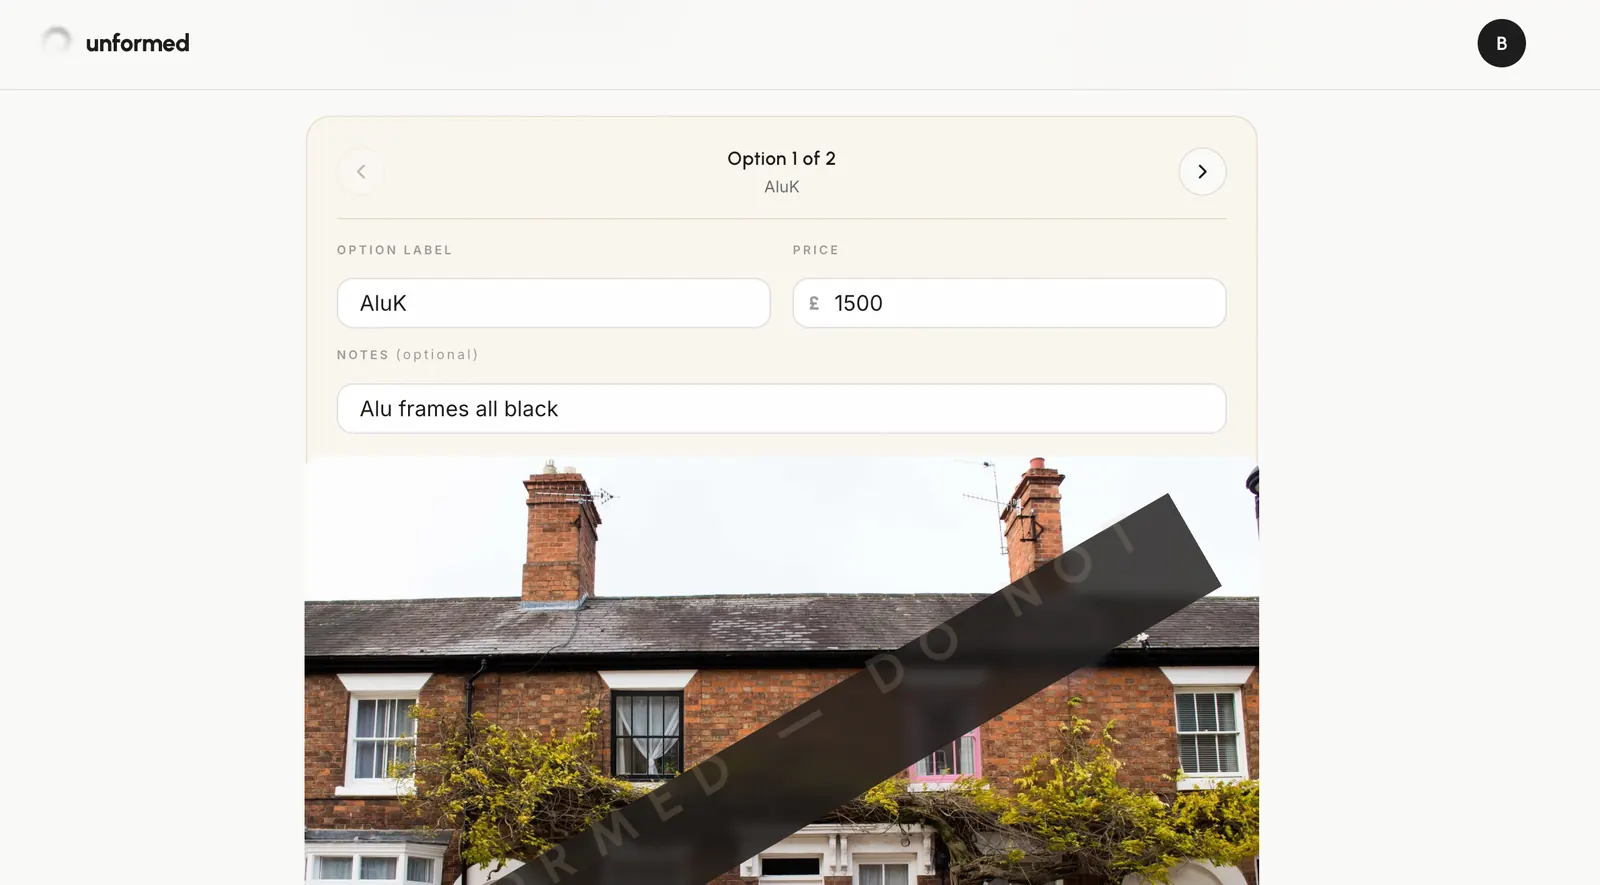
This is what turns a render into a decision. Add a second option — a different colour, or a different product entirely — and it renders against the same pinned layout, so the comparison is like for like.
Generate and wait
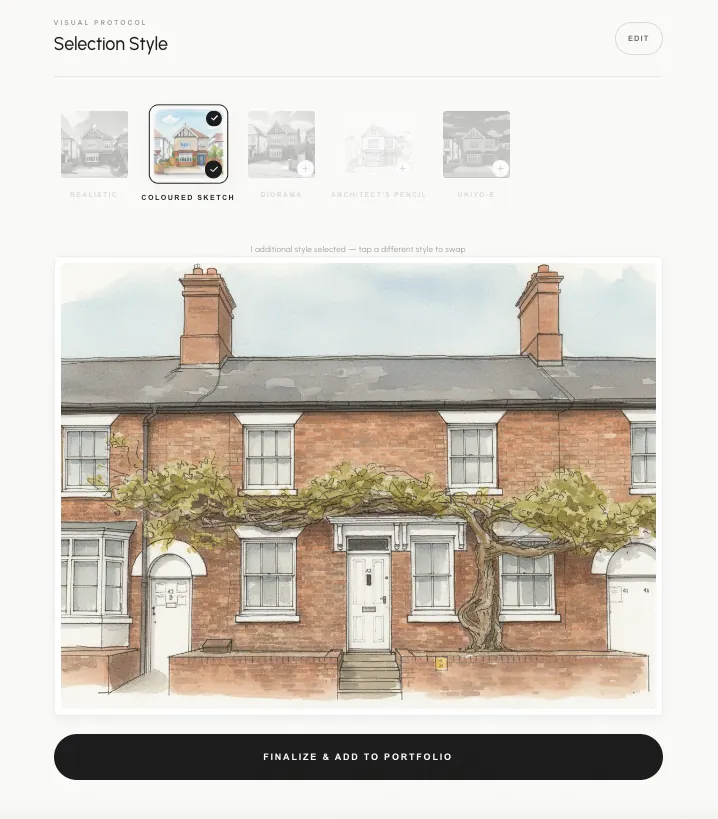
Click Generate. Each option renders in roughly 30–60 seconds, and every pinned opening is rendered independently before being composited back onto your photo. You get a photoreal render plus a coloured-sketch version.
Review the options in your vault
The finished project shows each option side by side. Drag the before/after slider to check the render against the original, and switch between options to compare them. If one opening did not come out right, you can re-render just that option rather than starting again.
Screenshot: The project showing both options with the before/after slider.Ready to send
That is the render half done. From here you add pricing and create the shareable brochure — covered in “The client brochure, page by page”.
Tips
- One pin per opening. Pinning a whole bay as a single mark is the most common cause of a disappointing render.
- Standard frame colours — anthracite, black, white, the greys — are the most reliable.
- Two options is the sweet spot. Three is the ceiling before it starts to overwhelm the customer.